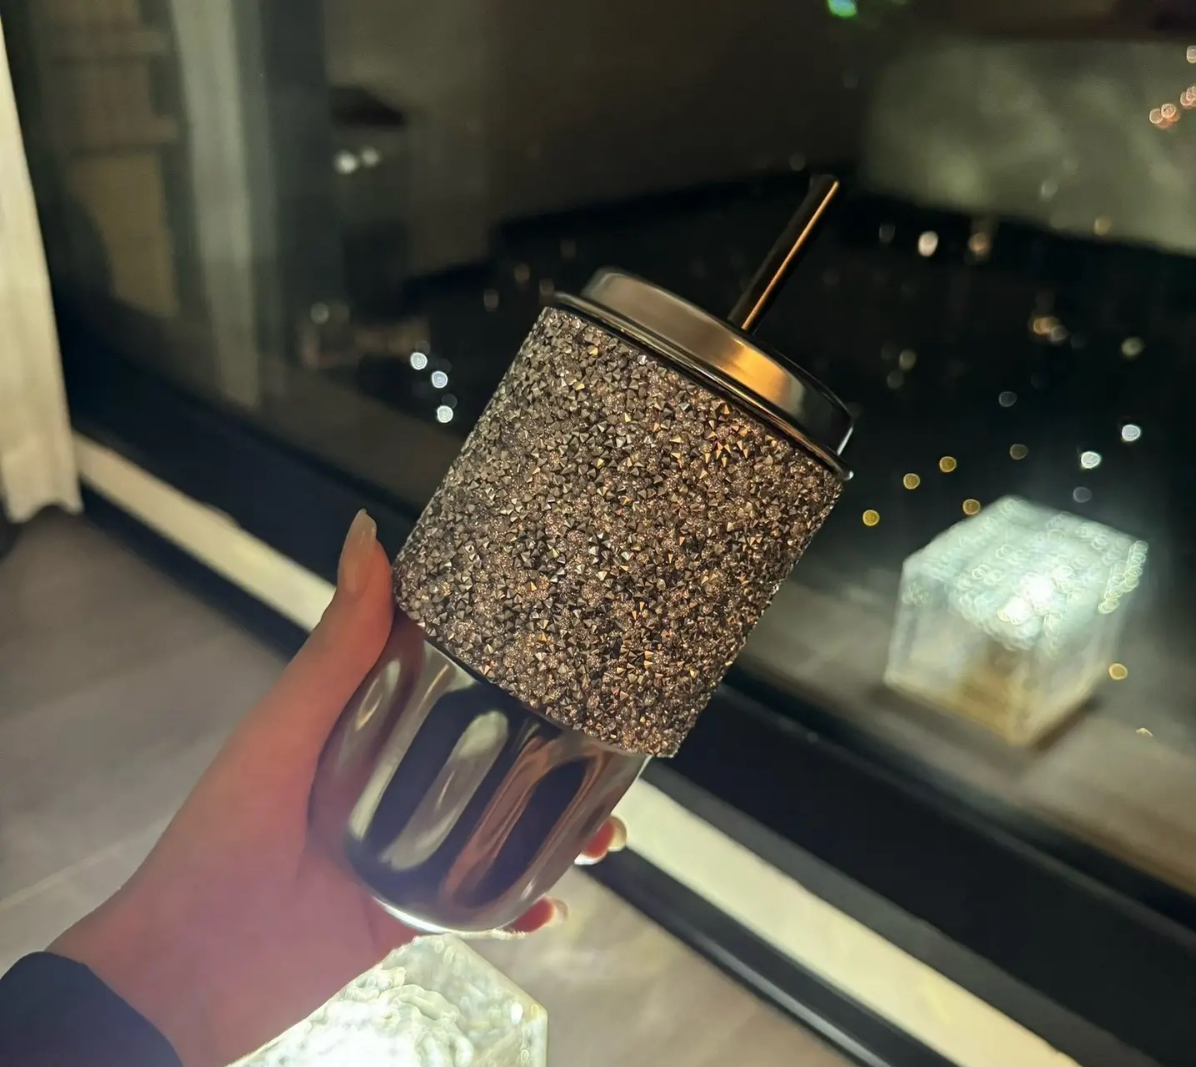
Unleash Your Inner Artist: DIY Stainless Steel Rhinestone Straw Cup
Step 1: Gather Your Materials for a Sparkling Masterpiece Before diving into the creative process, you’ll need to gather your

As women, we love to express our individuality—whether through fashion, accessories, or even our choice of drinkware. Why settle for something ordinary when you can have something extraordinary? The DIY stainless steel rhinestone straw cup is not just a practical item; it’s an extension of your personality, a little piece of everyday luxury that’s uniquely yours. Let’s dive into how you can create a sparkling masterpiece that reflects your style and adds a touch of glam to your day.
Step 1: Your Tools of Transformation
Before you begin, you’ll need a few essentials to turn your vision into reality:
Step 2: Design with Purpose and Passion
This is where your personal style truly shines. Take a moment to think about what kind of design speaks to you. Are you drawn to classic elegance, with a subtle touch of sparkle? Or do you prefer something bold and eye-catching, a design that makes a statement? Whether you’re into hearts, stars, or geometric patterns, sketching out your design will help you visualize the end result and guide you through the process.
Step 3: Prep Your Canvas
To ensure your rhinestones adhere perfectly, it’s important to prepare your cup. Gently sand the surface with fine sandpaper to create a slight texture. This will give the adhesive something to grip onto. After sanding, use a soft cloth to wipe away any dust or debris. A clean, smooth surface is essential for a professional-looking finish.
Step 4: Add the Sparkle
Now for the fun part—bringing your design to life! Start by applying the rhinestones along the outline of your design, then fill in the details. Take your time with this step; it’s all about precision and care. The beauty of this project is in the details—each rhinestone you place adds to the overall glamour. For an extra touch of durability, you can apply a clear sealant over the rhinestones, ensuring they stay secure and continue to sparkle.
Step 5: Glam Up Your Straw
Don’t forget about the straw! Coordinate the design on your cup with the straw by adding a few rhinestones here as well. Whether you opt for a simple ring of gems near the top or a fully decorated straw, this finishing touch ties the whole look together. Just be mindful not to obstruct the straw’s functionality.
Step 6: Flaunt Your Fabulous Creation
With your cup complete, it’s time to show it off! Whether you’re heading to the office, meeting up with friends, or simply enjoying a quiet moment at home, your DIY rhinestone cup is sure to add a little sparkle to your day. It’s more than just a cup—it’s a conversation piece, a reflection of your creativity and style. To keep it looking its best, gently clean the cup with a soft cloth and avoid harsh cleaners that could damage the rhinestones.
Conclusion: Celebrate Your Style
Creating your own DIY stainless steel rhinestone straw cup is a wonderful way to express your creativity and celebrate your unique style. It’s a reminder that even the smallest details in life can be beautiful and special. Whether you’re treating yourself or making one as a gift for someone special, this project is all about adding a touch of glam to everyday moments. So go ahead, let your inner sparkle shine, and enjoy the satisfaction of sipping from a cup that’s as fabulous as you are!
Step 1: Gather Your Materials for a Sparkling Masterpiece Before diving into the creative process, you’ll need to gather your
Dazzling Design Meets Durable Functionality Imagine taking a sip from a cup that not only keeps your drink at the