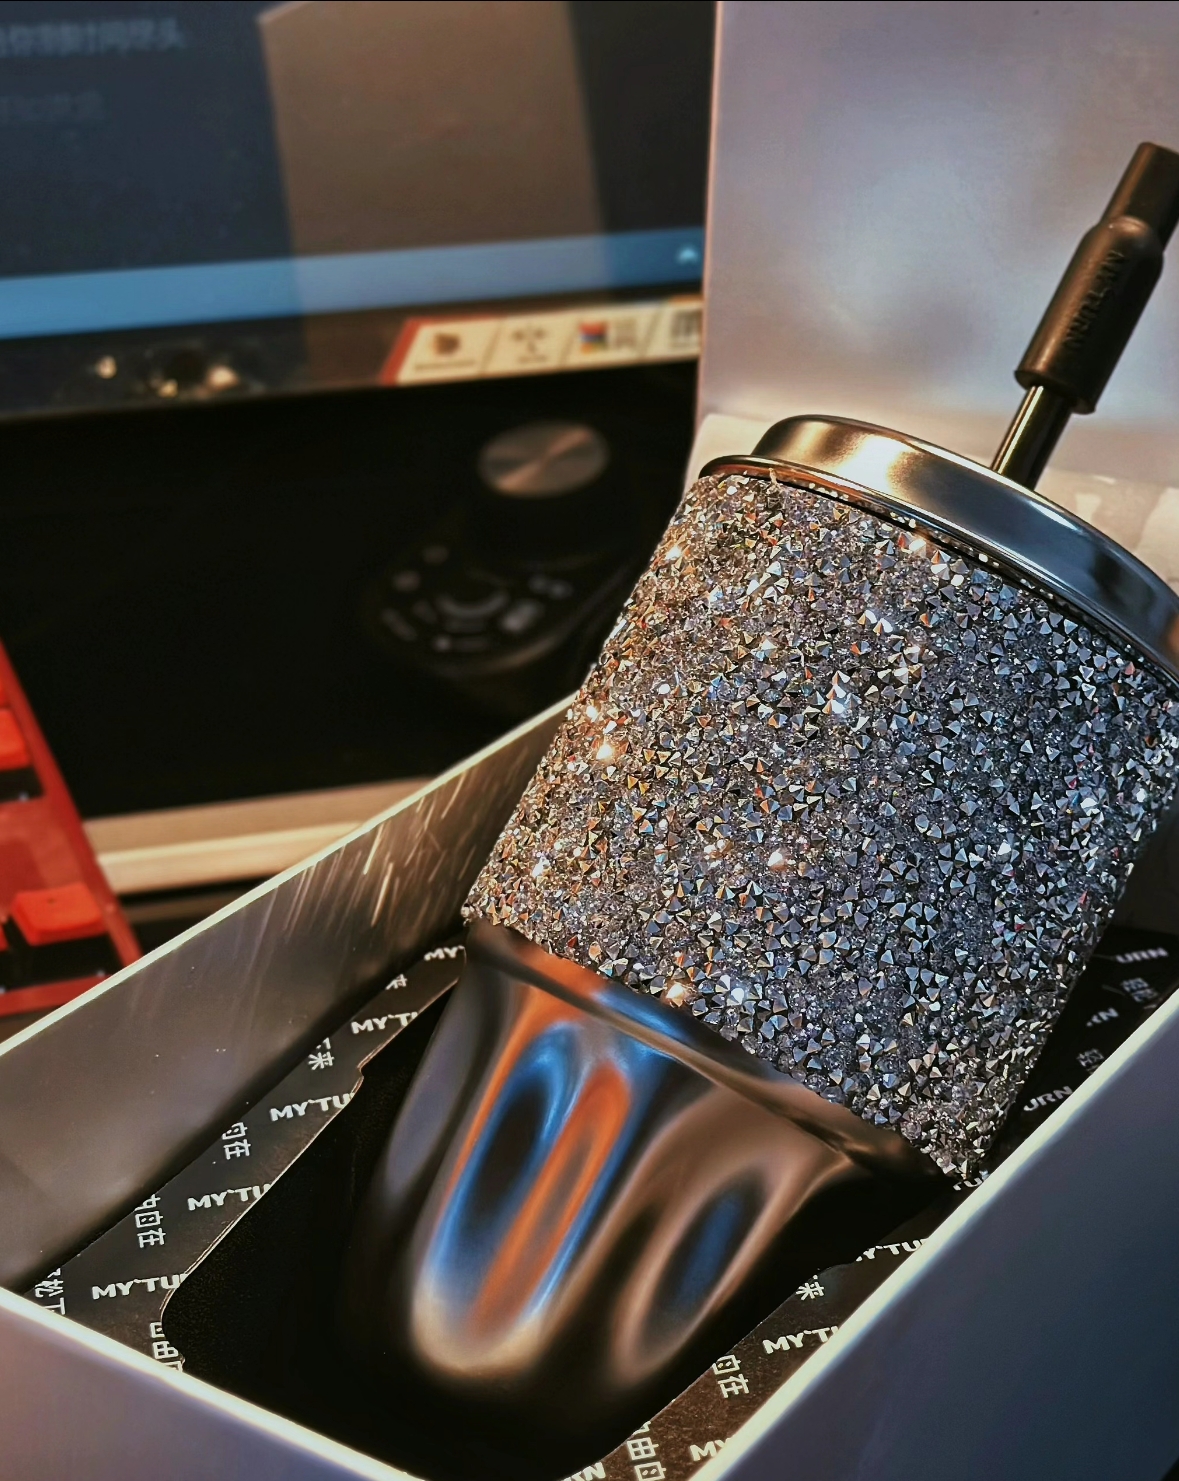
A Touch of Glam: Creating Your Own DIY Stainless Steel Rhinestone Straw Cup
Step 1: Your Tools of Transformation Before you begin, you’ll need a few essentials to turn your vision into reality:

In a world where personalization reigns supreme, nothing speaks louder than a creation that’s entirely your own. Enter the DIY stainless steel rhinestone straw cup—a masterpiece waiting to happen. This is not just any cup; it’s a blank canvas inviting you to unleash your inner artist. Whether you’re looking to make a bold fashion statement or simply add a touch of sparkle to your daily routine, this DIY project is the perfect blend of creativity and functionality.
Step 1: Gather Your Materials for a Sparkling Masterpiece
Before diving into the creative process, you’ll need to gather your materials. Here’s what you’ll need to get started:
Step 2: Design Your Vision
Before you start sticking rhinestones, take a moment to sketch out your design. This is your chance to visualize how your cup will look and plan the placement of each rhinestone. Will you go for a gradient effect, a geometric pattern, or a full-on glam look? The choice is yours. Sketching your design first will help keep you on track as you bring your vision to life.
Step 3: Prep and Polish
To ensure your rhinestones adhere properly, give your cup a quick polish with fine sandpaper. This will create a slightly rougher surface, allowing the glue to grip better. After sanding, wipe the cup down with a clean cloth to remove any residue. A smooth, clean surface is key to a flawless finish.
Step 4: Rhinestone Embellishment
Now for the fun part—applying the rhinestones! Using your design sketch as a guide, carefully apply the rhinestones one by one. Start with the outline of your pattern, then fill in the details. For added durability, consider applying a thin layer of clear sealant over the rhinestones. This will help protect your design and keep it looking fabulous for years to come.
Step 5: Straw Decoration
Don’t forget the straw! To tie everything together, use the same rhinestones or decorations on your stainless steel straw. You can create a simple ring of rhinestones near the top or go all out with a fully embellished straw. Just be sure the decorations don’t interfere with the straw’s function.
Step 6: Show It Off and Keep It Sparkling
Once your masterpiece is complete, it’s time to show it off! Whether you’re at the office, a party, or just relaxing at home, your DIY stainless steel rhinestone straw cup is sure to turn heads. To keep your cup sparkling, gently wipe it down with a soft cloth after each use. Avoid harsh cleaners or rough surfaces that could damage the rhinestones.
Conclusion: Sip in Style, Shine with Confidence
Creating your own DIY stainless steel rhinestone straw cup is more than just a fun project—it’s an opportunity to express your personality and creativity. This isn’t just a cup; it’s a reflection of you. So why settle for ordinary when you can sip in style and shine with confidence? Whether you’re making it for yourself or as a gift, this dazzling cup is a testament to the power of creativity and the joy of handmade art. So grab your materials, spark your imagination, and let your creativity flow. The world is your canvas, and your cup is just the beginning.
Step 1: Your Tools of Transformation Before you begin, you’ll need a few essentials to turn your vision into reality:
Dazzling Design Meets Durable Functionality Imagine taking a sip from a cup that not only keeps your drink at the